
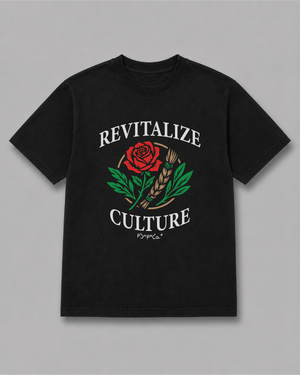
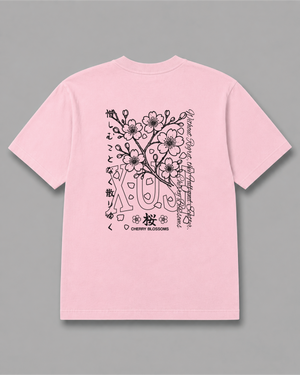
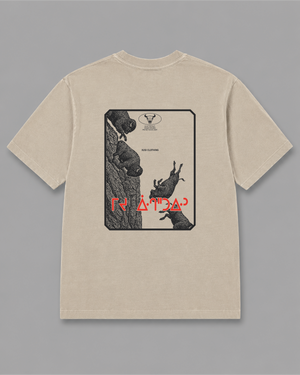
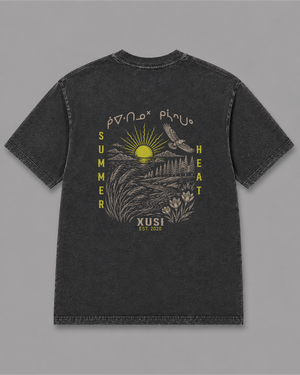
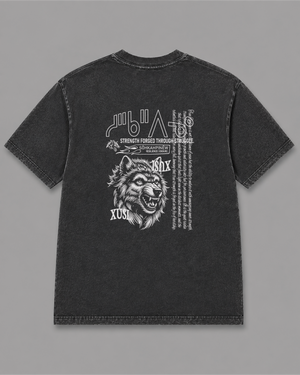
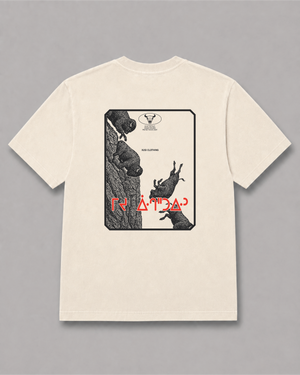

Ordering custom shirts goes smoothly when a few decisions are made before anyone touches a screen. This guide walks through the order we ask our own screen printing clients to think in, whether you are outfitting a school program, a sports team, a staff group, a powwow committee or a community event.
1. Start with the date you need them
Work backwards from the day the shirts have to be in people's hands. Leave room for design back-and-forth, printing, and pickup or shipping. If your event is fixed, such as a tournament, a graduation or Orange Shirt Day on September 30, put that date in your very first message to the printer so they can tell you right away whether it is realistic.
2. Decide how many you need
Most screen printers have a minimum because each colour in a design needs its own screen and setup. At XUSI the minimum is 10 garments per order. Count everyone who needs a shirt, then add a small buffer for late sign-ups and size swaps. Every order gets a full quote before anything is printed.
3. Collect sizes early
Size collection is where most orders stall. Send a simple form or spreadsheet with the size range and a deadline, and share the fit of the garment you are considering so people are not guessing. Adults and youth sizes are usually different garments, so note if you need both.
4. Choose the garment
The blank shirt matters as much as the print. Heavier cotton feels sturdier and holds up to washing; softer, lighter blends drape better and feel more fitted. At XUSI we print on Gildan, ALSTYLE, Independent and Bella+Canvas, with more brands available on request. If you are unsure, tell your printer who will be wearing the shirts and how often, and ask for a recommendation.
5. Keep the design screen-print friendly
- Limit colours. Each colour is a separate screen. XUSI prints designs of up to 4 colours.
- Know your print size. A full front or back print is large; a left-chest logo is small. Our maximum screen size is 23 by 31 inches.
- Send the best file you have. Vector files (AI, EPS, PDF or SVG) are ideal. A high-resolution PNG can work. If all you have is a sketch or an idea, that is fine: design help is included with XUSI orders.
- Check wording and language. If your design includes a Cree, Dene or other Indigenous language word, have it checked by a speaker or language keeper from the community it belongs to before it goes to print.
6. Understand the quote
A screen printing quote usually has two parts: the print cost (per print, per location) and the garment cost (depending on the brand and style). Shipping or delivery may be added if you are not picking up. Ask for everything in one quote so you can compare options and budget accurately.
7. Approve a proof
Before printing, you should see a proof showing the design, colours, size and placement on the shirt. Read it carefully: check spelling, dates and logos. Once you approve it, the order goes to print.
8. Plan pickup or delivery
Confirm how the finished shirts get to you. For XUSI clients in Saskatoon that usually means pickup; for clients elsewhere, including Calgary, we confirm shipping with the quote.
A quick checklist before you request a quote
- Date you need the shirts
- Rough quantity (minimum 10 at XUSI)
- Garment type and colour
- Number of colours in the design and where it goes
- Your artwork, or a description of your idea
- Delivery city
XUSI is an Indigenous-owned screen printer in Saskatoon. We print for schools, universities, teams, businesses, events and Indigenous communities. See our screen printing service or request a quote.

Written by XUSI, an Indigenous-owned clothing and screen printing brand from Saskatoon on Treaty 6 territory. Our story · What the words mean