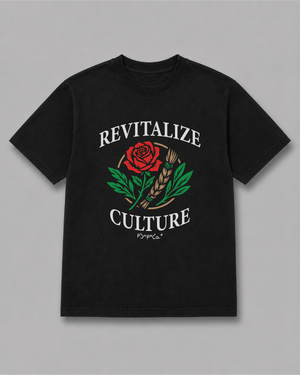
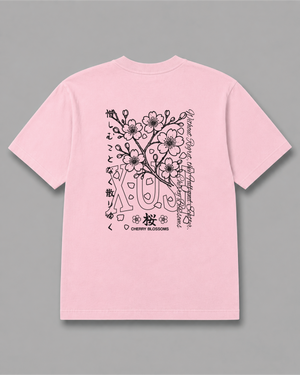
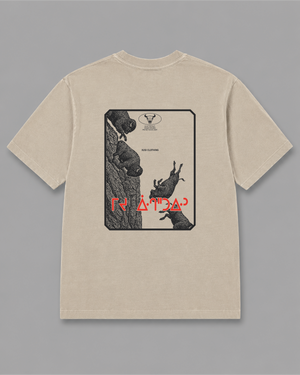

Good artwork makes a good print. A file that looks sharp on your phone can still fall apart once it is burned onto a screen and pushed through mesh onto cotton. This guide covers the screen printing artwork requirements that matter most, so your shirts come out the way you pictured them.
We are XUSI, an Indigenous-owned clothing and screen printing company in Saskatoon. Design help is included with every order, so if something below feels like too much, send us what you have.
Vector or raster: which file should you send
There are two main kinds of image files. Adobe describes raster files as images built from pixels, the tiny colour squares that make up photos. Vector files use mathematical lines and curves instead of pixels.
Raster images lose quality when you enlarge them. Vector art keeps clean edges at any size, which is why logos are usually built as vectors.
- Vector formats: AI, EPS, SVG and vector PDF. These are the best choice for logos, text and flat graphic designs.
- Raster formats: JPG, PNG, TIFF and PSD. These work for photos and painted or textured art, as long as the resolution is high enough.
If your logo only exists as a small JPG pulled from a website, it will likely need to be redrawn. That is normal, and it is part of the design help we include.
Resolution for raster art
If your art has to be raster, build it at the size it will print. Print shop guides such as ooShirts recommend a minimum of 300 DPI for clear, sharp results. A 300 DPI file that is only 3 inches wide will not hold up if it is stretched to 11 inches.
Colour count and spot colours
Traditional screen printing lays down one ink colour at a time. Each colour gets its own screen, so art is separated into layers, one per colour. This is why colour count shapes almost every other decision about your design.
At XUSI, we print designs with up to 4 colours. Many strong shirt designs use one or two. Fewer colours usually means cleaner registration and a bolder look from across a room.
A few habits help:
- Build your art with solid, flat colours rather than soft gradients where you can.
- Count the shirt colour as part of the design. A black ink outline may not be needed on a black shirt.
Pantone and matching exact colours
If your organization has official brand colours, tell us the Pantone numbers. Pantone calls its Formula Guide a shared colour language for designers, clients and printers. It covers 2,614 spot colours across coated and uncoated stock.
Screen printers match those colours by mixing ink. FN-INK explains that an ink mixing system uses a set of base inks, mixed by weight to a formula, to reproduce a Pantone colour. That gives you a consistent colour from one order to the next.
A Pantone number is more reliable than a hex code, because screens show colour as light and ink on fabric never looks exactly the same.
Print sizes and placement
Size your art for where it will sit on the garment. Transfer Express, a supplier of screen printed transfers, publishes common starting points:
| Location | Typical design size |
|---|---|
| Full front, adult | About 11 x 11 in |
| Full front, youth | About 9 x 9 in |
| Left chest | Up to 4.5 x 4.5 in |
| Short sleeve | About 3 x 3 in |
| Long sleeve, down the arm | About 2 x 11.25 in |
| Back yoke (below the collar) | 2 to 3 in wide |
If your order mixes youth and adult sizes, Transfer Express notes that 10 to 10.5 inches wide can work for both. The same guide warns you to watch for seams, pockets and other obstructions that limit the print area.
Our screens go up to 23 x 31 inches, which leaves room for large back prints. Tell us the sizes you are ordering and we will suggest a print size that works across the range.
Fonts and outlining text
Fonts are one of the most common file problems. If we do not have the exact font you used, our software swaps in a different one, and your text changes shape.
The fix is to convert text to outlines before you send the file. Adobe explains that outlined text loses its text properties and can no longer be edited with text controls. In other words, the letters become shapes, so they look the same on any computer.
- Save an editable copy of your file first, in case you need to fix a typo later.
- Outline the text in the copy you send to print.
- If you cannot outline, send the font file or tell us the exact font name.
Fine lines, small text and halftones
Ink needs a minimum amount of space to pass through the mesh. Very thin lines can break up or disappear, and tiny gaps can fill in with ink.
Printers set their own limits, but the numbers are useful as a guide. ooShirts recommends lines of at least 0.5 points and text of at least 6 points. Transfer Express lists 0.012 inches as a minimum for printed lines and 0.04 inches for open gaps, such as the holes inside letters.
A simple test: print your design at actual size on paper. If a detail is hard to see at arm's length, it will be hard to see on a shirt.
How halftones work
Screen printing cannot print a true fade from dark to light. Instead, shading is broken into tiny dots called halftones. Bigger dots read as darker, smaller dots read as lighter.
The dot size has to suit the screen mesh. Atlas Screen Supply shares a common rule of thumb: multiply the halftone line count (LPI) by 4.5 to find the minimum mesh count. For example, a 35 LPI halftone needs roughly 157 mesh or finer.
You do not need to set this up yourself. Just tell us if your art has shading or photo elements.
Dark garments and the white underbase
Dark fabric absorbs light, so colours printed straight onto it can look dull or muddy.
Printers solve this with a white underbase. Printful describes it as a layer of white ink printed first on dark garments, before the other colours go on top. ScreenPrinting.com notes that the underbase needs its own dedicated screen.
What this means for your art:
- Designs for dark shirts often need an extra white layer, printed under the colours.
- If you want the same design on light and dark shirts, tell us early. The two versions may be set up differently.
What XUSI needs from you
Here is a short checklist to send with your request through our screen printing page or contact page:
- Your artwork, in vector format if you have it, or the largest version you have if not.
- The ink colours, with Pantone numbers if you have brand colours.
- Where each print goes, such as front, back or left chest, and roughly how big.
- Garment style and colour. We print on Gildan, ALSTYLE, Independent and Bella+Canvas, and more brands are available on request.
- Your size breakdown and total quantity. Our minimum is 10 garments.
Remember our limits when you plan: up to 4 colours per design, and screens up to 23 x 31 inches. Design help is included, so rough sketches and old logos are welcome.
You get a full quote before anything is printed. Timing depends on order size and time of year, and we confirm it in the quote. If you are still planning your order, our guide on ordering custom shirts for a school, team or event walks through the steps.
Related reading: What changes the screen printing cost per shirt
Questions people ask
Can I send a JPG or PNG?
Yes. If it is small or blurry, it may need to be redrawn as vector art before printing. Design help is included, so we can look at it with you.
Does the shirt colour count as one of my colours?
No. The shirt is the background, not an ink. Using it as part of the design can help you stay within 4 colours.
Why does my design need a white layer on a black shirt?
Dark fabric dulls ink colours. A white underbase printed first helps the colours on top look bright.
Sources
- Adobe: Raster vs. vector, what are the differences
- Adobe Help: Create outline text
- Pantone: Formula Guide, coated and uncoated
- FN-INK: Screen print any colour with an ink mixing system
- ooShirts: How to prepare artwork for screen printing
- Transfer Express: Sizes and placement for screen printed and digital transfers
- Transfer Express: Art detail guidelines
- Atlas Screen Supply: Choosing the right mesh and halftone dot
- Printful: White underbase
- ScreenPrinting.com: Everything you need to know to screen print an underbase

Written by XUSI, an Indigenous-owned clothing and screen printing brand from Saskatoon on Treaty 6 territory. Our story · What the words mean